 | ||
| Adding a service group | ||
|---|---|---|
| Prev | Administering service groups | Next |
The Java Console provides several ways to add a service group to the systems in a cluster. Use Cluster Explorer, Command Center, or the Template View to perform this task.
Cluster Explorer provides several ways to add service groups. A few are explained in this section.
To add a service group from Cluster Explorer
or
In the Service Groups tab of the configuration tree, right-click a cluster and click Add Service Group from the menu.
or
Click Add Service Group in the Cluster Explorer toolbar.
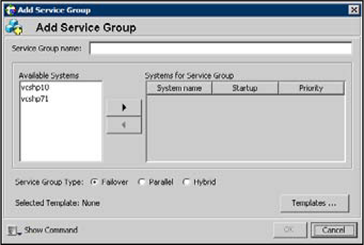
Enter the name of the service group.
In the Available Systems box, click the systems on which the service group will be added.
Click the right arrow to move the selected systems to the Systems for Service Group box. The priority number (starting with 0) is automatically assigned to indicate the order of systems on which the service group will start in case of a failover. If necessary, double-click the entry in the Priority column to enter a new value.
Select the Startup check box to add the systems to the service groups AutoStartList attribute. This enables the service group to automatically come online on a system every time HAD is started.
Click the appropriate service group type. A failover service group runs on only one system at a time; a parallel service group runs concurrently on multiple systems.
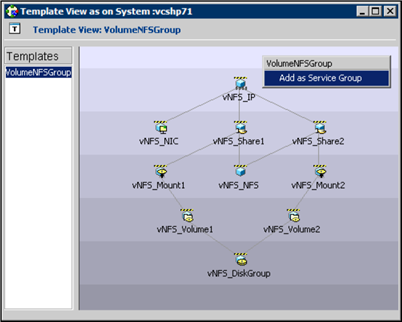
To add a new service group based on a template, click Templates... Otherwise, proceed to the last step in this procedure. (Alternative method to add a new service group based on a template: From Cluster Explorer, click Templates on the Tools menu. Right-click the Template View panel, and click Add as Service Group from the menu.)
Click the appropriate template name, then click OK.
Click Show Command in the bottom left corner if you want to view the command associated with the service group. Click Hide Command to close the view of the command.
Click OK.
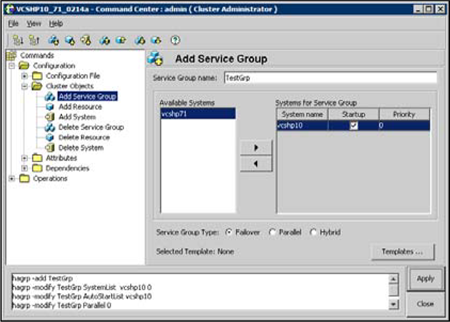
To add a service group from Command Center
or
Click Add service group in the Command Center toolbar.
Select the Startup check box to add the systems to the service groups AutoStartList attribute. This enables the service group to automatically come online on a system every time HAD is started.
To add a service group from the template view
More Information