 | ||
| Creating dynamic volumes for high availability clusters | ||
|---|---|---|
| Prev | Configuring SFW storage | Next |
Use this procedure for creating volumes for a disk group in a high availability cluster. For volumes in a campus cluster, use the following procedure instead:
See Creating dynamic volumes for campus clusters.
The following topic provides additional guidelines for a DR configuration:
Note: |
When assigning drive letters to volumes, ensure that the drive letters are available on all nodes. |
To create dynamic volumes
Select a profile if prompted.
You can right-click the disk group you have just created, for example INST1_DG.
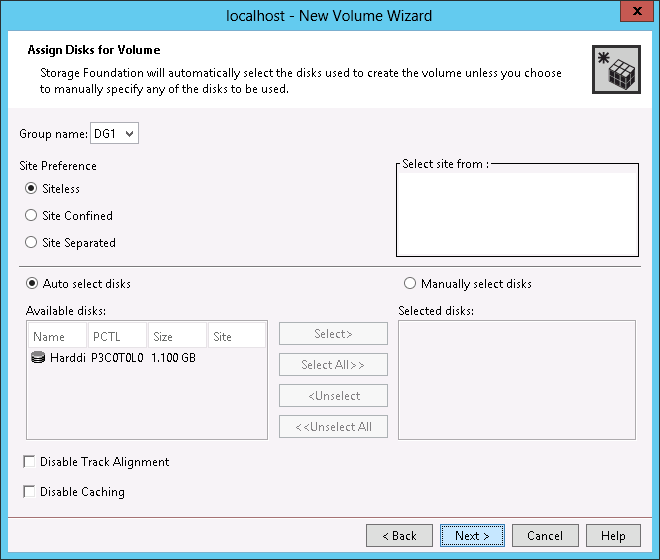
Make sure the appropriate disk group name appears in the Group name drop-down list.
For example, INST1_DG.
For Site Preference, leave the setting as Siteless (the default).
Automatic disk selection is the default setting. To manually select the disks, click Manually select disks and use the Add and Remove buttons to move the appropriate disks to the Selected disks list. Manual selection of disks is recommended.
You may also check Disable Track Alignment to disable track alignment for the volume. Disabling Track Alignment means that the volume does not store blocks of data in alignment with the boundaries of the physical track of the disk.
Click Next.
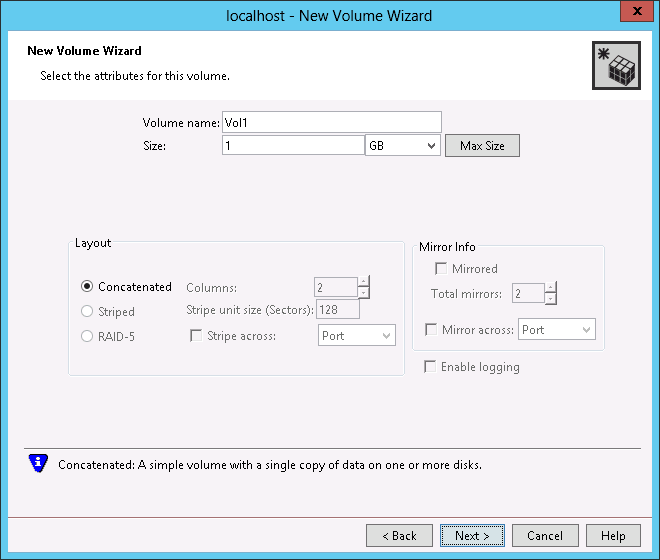
Enter a volume name.
Provide a size for the volume. If you click the Max Size button, a size appears in the Size box that represents the maximum possible volume size for that layout in the dynamic disk group.
Select a layout type.
If you are creating a striped volume, the Columns and Stripe unit size boxes need to have entries. Defaults are provided.
To select mirrored striped, click both the Mirrored checkbox and the Striped radio button.
In the Mirror Info area, select the appropriate mirroring options.
Verify that Enable logging is not selected.
Click Next.
To assign a drive letter, select Assign a Drive Letter, and choose a drive letter.
To mount the volume as a folder, select Mount as an empty NTFS folder, and click Browse to locate an empty folder on the shared disk.
If creating a Replicator Log volume for Volume Replicator, select Do not assign a drive letter.
Make sure the Format this volume checkbox is checked and click NTFS.
For a Volume Replicator configuration, for the Replicator Log volume only, clear the Format this volume check box.
Select an allocation size or accept the default.
The file system label is optional. SFW makes the volume name the file system label.
Select Perform a quick format if you want to save time.
Select Enable file and folder compression to save disk space. Note that compression consumes system resources and performs encryption and decryption, which may result in reduced system performance.
Click Next.
Create the cluster disk group and volumes on the first node of the cluster only.